Setting up the studio
Hey all!
the year has started with a blur of things to do. I’m working on a pitch for a Children’s series with Palm Beach Pictures and it’s all really fun. More details to follow.
Meanwhile, this is what I spent the end of last year doing after graduating from AFTRS.
I built me a badass studio desk which can host my full sized keyboard.
For a long while I had a line of hard disks balanced precariously off my table. (thus taking up all usable space), and my keyboard placed 90 degrees from the table – all very sensible until I realise I can only hear out of one side of my ear everytime I need to play something on the keyboard.
And the resulting nest of cables …which always irked me, would put the rat king to shame.

Then I found this!
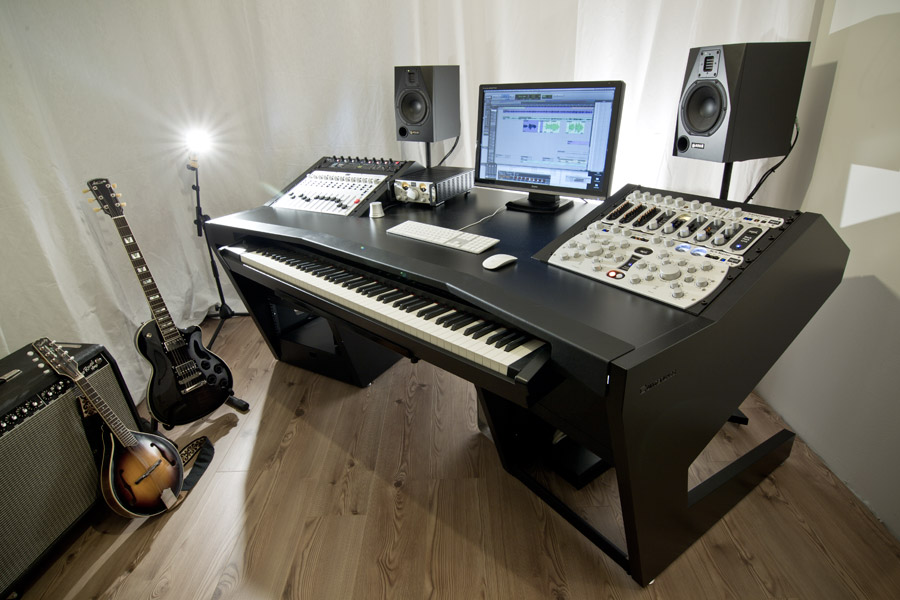
Sitting at $3760 aud (not yet factoring delivery costs) this is way beyond me budget. So a little bit of furniture hacking was in order.
Note this: I am nowhere near a carpenter.
Because of this; reading up on how to install a mega-sized keyboard drawer while factoring in weight distributions for a 15kg keyboard, weight limits etc etc would have broken my very non carpentry brain. Not to mention that I really rather get this done quick smart and get back to music making. So, if one cannot make a keyboard drawer, one can make a table with a movable surface.
The idea was that I wasn’t having to loom over my keyboard when I didn’t need it (which causes hunching…which is bad) , and I could pack the keyboard away quickly when I was programming other bits and pieces/ needing the desk for something else…like blogging to u lot now.
Here’s a very non engineering bit of process notes for u.
I got me some finnvard trestle legs from ikea $100aud
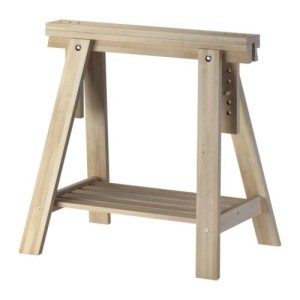
I then whacked the biggest heaviest drawer slides I could find at bunnings on the top of them trestles $24
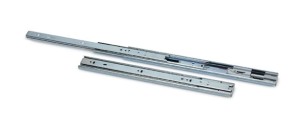
like so.
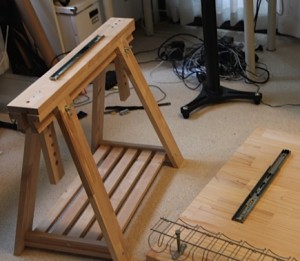
I got me an old $5 wooden panel to whack the keyboard on.
Then an $80 piece of door.
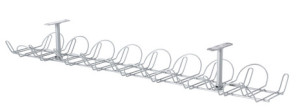
Then 2 ikea cable management trays $40 all up
All up $249AUD
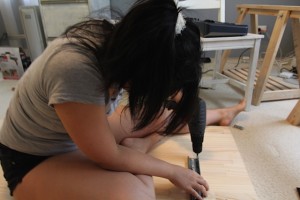
Then there’s 2 days worth of drilling, swearing, drilling…and much swearing.
This is the result. I now have a place where my many drives can sit….off the table. Which is nice.
this is me setting the first few drives up. (Death nailed into the table is a firewire hub.)
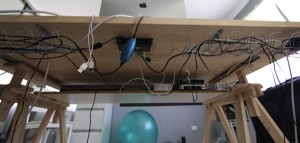
Here’s the completed piece. No visible wires in sight.
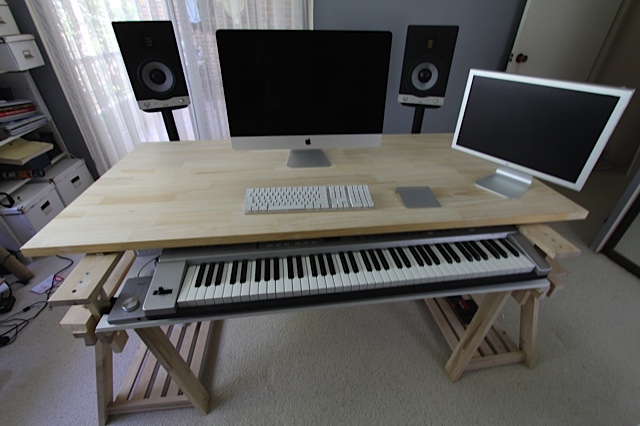
And I’m a happy camper.
Back to work I say 🙂
Yunyu


elena
onHello dear Yunyu I love your idea! I’d like to replicate it, but measures of the upper board would be very useful! <3<3<3 XXXX Elena (Italy)
Yunyu
onHello Elena! The upper board measures at 180 cm. hope that helps 🙂 Glad u like